


In this article, it will walk through the process of installiung Stable Diffusion WebUI on ARM64 + Nvidia RTX platform.
For such as hardware combinarion, it needs to solve some compatiability issues, so, here will describe how to install it and fix those issues.
Platform
CPU: Ampere Altra ARM64 CPU
Board: AsRock ALTRAD8UD
OS: Ubuntu 22.04
The platform is the most powerful ARM64 platform for a homelab that we can obtain today. There are some server models available, but they come with high-speed cooling fans that are not suitable for home use.
Nvidia has provided comprehensive library support for the ARM64 platform, including drivers, CUDA, and cuDNN. However, despite these efforts, there are still gaps in support. Even Nvidia’s Jetson product line lacks adequate support for ARM64 platforms in certain applications such as PyTorch. While there exists an individual PyTorch accelerator package for direct download on x64 platforms, the same cannot be said for ARM64 platforms. Although there is technically one package available, its availability is severely limited, rendering it practically useless.
The only viable solution to overcome these limitations is to utilize Nvidia’s Docker service to install Stable Diffusion.
Installation
Install Ubuntu 22.04 without selecting the HWE (Hardware Enablement) support. It appears that the current Nvidia driver version has issues, leading to potential soft-lock bugs. A general kernel version (5.15) is preferable for stability.
Next, install the necessary Ubuntu packages.
sudo apt-get install build-essential
Download Nvidia ARM64 (aarch64) Display Driver , current version is ok, when I write this article, current version is 535.154.05
Docker
Install Docker by following the Docker guide Install Docker Engine on Ubuntu,”. Also provide the necessary installation steps here. If already installed Docker or if these steps don’t work, please refer to the original website for updated instructions.
# Add Docker's official GPG key:
sudo apt-get update
sudo apt-get install ca-certificates curl
sudo install -m 0755 -d /etc/apt/keyrings
sudo curl -fsSL https://download.docker.com/linux/ubuntu/gpg -o /etc/apt/keyrings/docker.asc
sudo chmod a+r /etc/apt/keyrings/docker.asc

# Add the repository to Apt sources:
echo \
  "deb [arch=$(dpkg --print-architecture) signed-by=/etc/apt/keyrings/docker.asc] https://download.docker.com/linux/ubuntu \
  $(. /etc/os-release && echo "$VERSION_CODENAME") stable" | \
  sudo tee /etc/apt/sources.list.d/docker.list > /dev/null
sudo apt-get update
sudo apt-get install docker-ce docker-ce-cli containerd.io docker-buildx-plugin docker-compose-plugin
Nvidia Container Toolkit
Follow the instructions for installing the NVIDIA Container Toolit. It can modify the Docker configuration using this toolkit. Alternatively, modifying the daemon.json file might achieve the same result, although I haven’t personally tested it. Below are the instructions:
curl -fsSL https://nvidia.github.io/libnvidia-container/gpgkey | sudo gpg --dearmor -o /usr/share/keyrings/nvidia-container-toolkit-keyring.gpg \
  && curl -s -L https://nvidia.github.io/libnvidia-container/stable/deb/nvidia-container-toolkit.list | \
    sed 's#deb https://#deb [signed-by=/usr/share/keyrings/nvidia-container-toolkit-keyring.gpg] https://#g' | \
    sudo tee /etc/apt/sources.list.d/nvidia-container-toolkit.list

sudo sed -i -e '/experimental/ s/^#//g' /etc/apt/sources.list.d/nvidia-container-toolkit.list

sudo apt-get update
sudo apt-get install -y nvidia-container-toolkit

sudo nvidia-ctk runtime configure --runtime=docker
sudo systemctl restart docker
It can check the file /etc/docker/daemon.json file, the configuration should be like this.
{
    "runtimes": {
        "nvidia": {
            "args": [],
            "path": "nvidia-container-runtime"
        }
    }
}
Run Nvidia pytorch docker image
Following is example command to run the Nvidia pytorch docker image
sudo docker run --gpus all -it --rm \
        -v /host/work:/container/work \
        -p 7860:7860 \
        nvcr.io/nvidia/pytorch:XX.XX-py3
/host/work means work directory on host, /container/work means work directory in container(docker). -p 7860 mean gui default port, it needs to forward to host machine. XX.XX means container versiom please see tags to get container version, or this URL . [NGC Pytorch]. Following is example command.
sudo docker run --gpus all -it --rm \
        -v /work:/work \
        -p 7860:7860 \
        nvcr.io/nvidia/pytorch:24.01-py3
Stable Diffustion WebUI
First steps clone Stable Diffustion WebUI source code.
git clone https://github.com/AUTOMATIC1111/stable-diffusion-webui.git
Then, it needs to modify the settings file. Edit webui.sh, and adjust the parameters to the following numbers.
use_venv=0
can_run_as_root=1
As we are operating within a container, there’s no need for a virtual environment (venv), and the script can be run as root. Modify the file webui-user.sh and add COMMANDLINE_ARGS accordingly.
export COMMANDLINE_ARGS="--no-half --precision full --listen"
or run it directly
export COMMANDLINE_ARGS="--no-half --precision full --listen" ; bash webui.sh
Currently, Stable Diffusion will download some packages, but errors may occur during the installation process. We’ll address and fix these errors in the next few steps.
CV2
Error message :
    if __load_extra_py_code_for_module("cv2", submodule, DEBUG):
  File "/usr/local/lib/python3.10/dist-packages/cv2/__init__.py", line 28, in __load_extra_py_code_for_module
    py_module = importlib.import_module(module_name)
  File "/usr/lib/python3.10/importlib/__init__.py", line 126, in import_module
    return _bootstrap._gcd_import(name[level:], package, level)
  File "/usr/local/lib/python3.10/dist-packages/cv2/typing/__init__.py", line 168, in <module>
    LayerId = cv2.dnn.DictValue
AttributeError: module 'cv2.dnn' has no attribute 'DictValue'
Modify file “/usr/local/lib/python3.10/dist-packages/cv2/typing/__init__.py”, comment out line 169 like following.[ref]
# LayerId = cv2.dnn.DictValue
CodeFormer
Error message:
"/work/stable-diffusion-webui/repositories/CodeFormer/facelib/utils/face_restoration_helper.py", line 7, in <module>
        from facelib.detection import init_detection_model
      File "/work/stable-diffusion-webui/repositories/CodeFormer/facelib/detection/__init__.py", line 11, in <module>
        from .yolov5face.face_detector import YoloDetector
      File "/work/stable-diffusion-webui/repositories/CodeFormer/facelib/detection/yolov5face/face_detector.py", line 20, in <module>
        IS_HIGH_VERSION = tuple(map(int, torch.__version__.split('+')[0].split('.'))) >= (1, 9, 0)
    ValueError: invalid literal for int() with base 10: '0a0'
This issue caused by pytorch.version will return illegeal number like 2.2.0a0+81ea7a4, so it will fail to parse this mesage, temperory solution is to remove the version number, edit file “stable-diffusion-webui/repositories/CodeFormer/facelib/detection/yolov5face/face_detector.py”. and modify line 20, IS_HIGH_VERSION to following version to following:[ref]
version_string = torch.version.split('+')[0]
version_string = ''.join(filter(str.isdigit, version_string))
IS_HIGH_VERSION = tuple(map(int, version_string.split('.'))) >= (1, 9, 0)
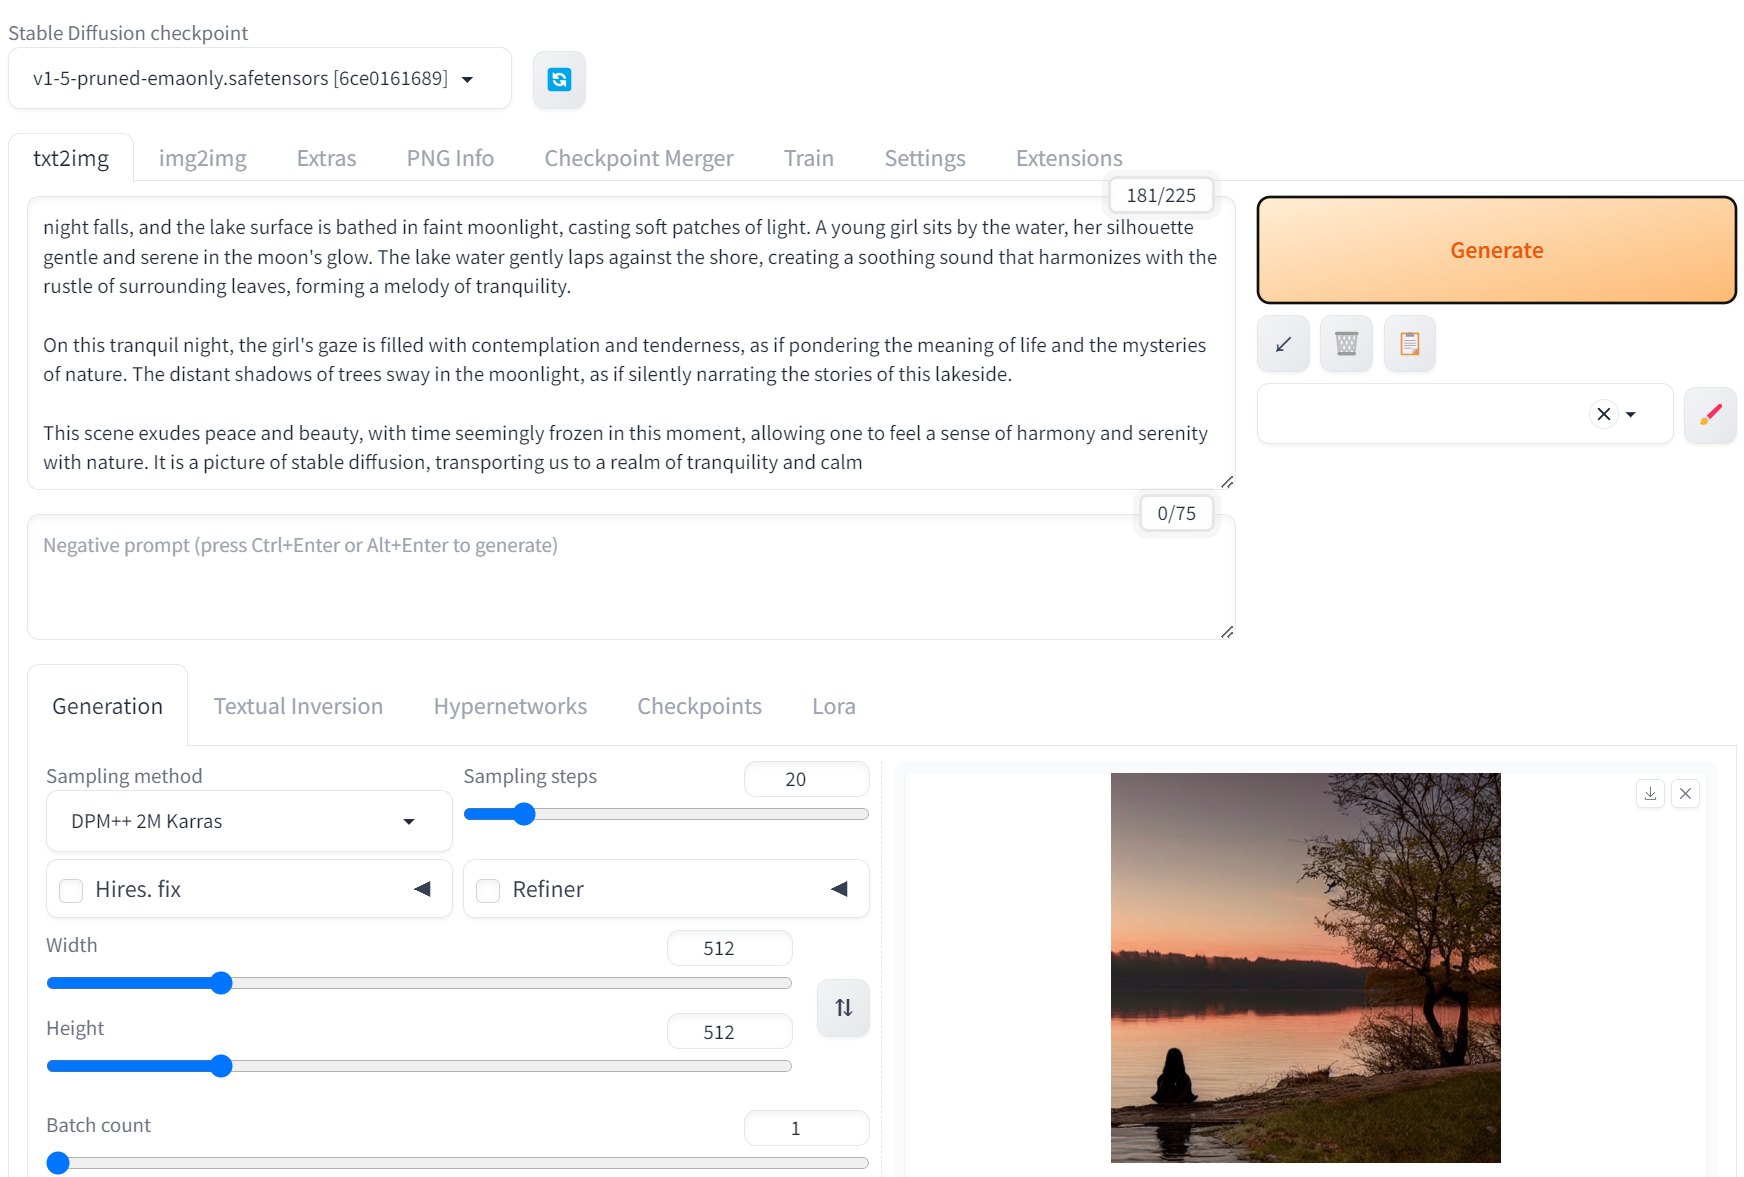
Now, the Stable Diffusion GUI should be working as well as expected

發佈留言